01
Give the bar a job
Decide whether this is a drinks station, a place for meals, a game-night perch, or the visual anchor of the room. The job determines almost every choice that follows.
Write down the two things this bar must do every week.
Basement bar planning guide
A useful basement bar starts with purpose, clearances, utilities, storage, and one deliberate focal point. These are the five decisions I would settle before building another one.
The short answer
Define the bar’s job, tape out its full footprint, decide utilities before finishes, divide the budget between structure and visible impact, and source materials only after the dimensions are settled. Then take the final brief into a construction guide that matches your design.
Start with behavior
A drinks station for two, a six-seat game-night counter, and a sink-equipped serving bar can share a mood while needing completely different footprints. Start with the ordinary use case, not the dream photograph.
Fit the room
A bar can fit on paper and still make the basement awkward. Tape the front edge, the back of the counter, every appliance door, and the space occupied by a pulled-out stool. Walk the path with another person before accepting the layout.
Sequence matters
Finishes are flexible. Hidden service paths are not. Separate the early decisions from the items you can change after the bar is usable.
Local check: Plumbing, electrical, ventilation, and permit requirements vary. Use the correct trade professional or local authority where the work is outside your experience or requires approval.
Budget with intention
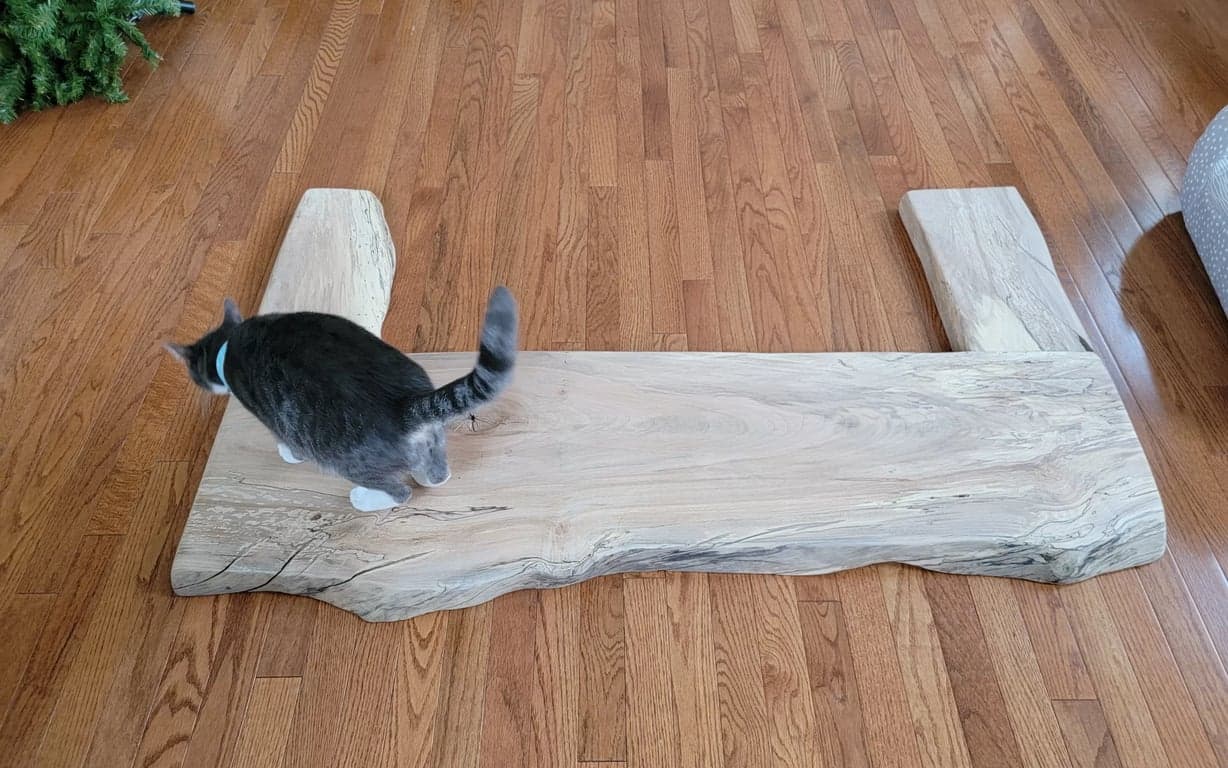
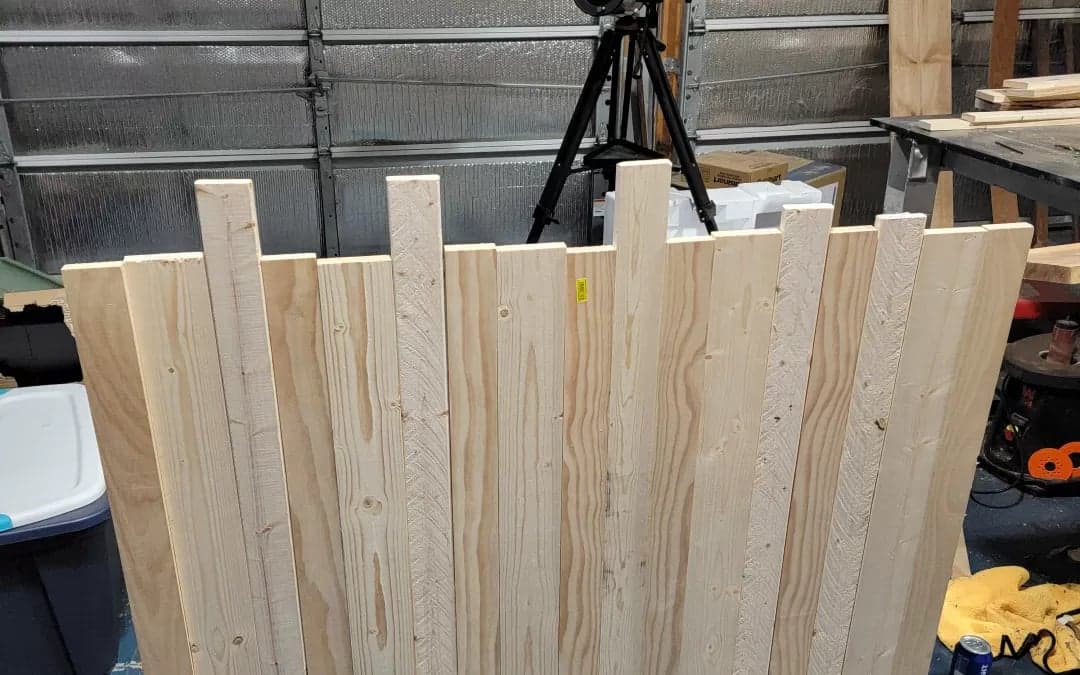
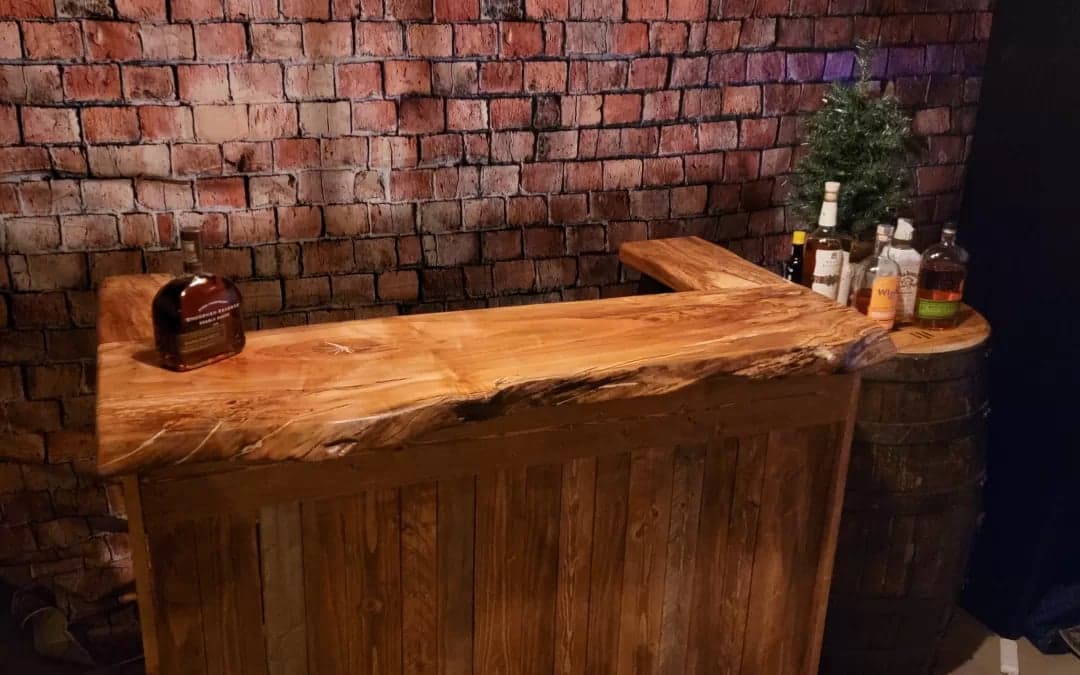
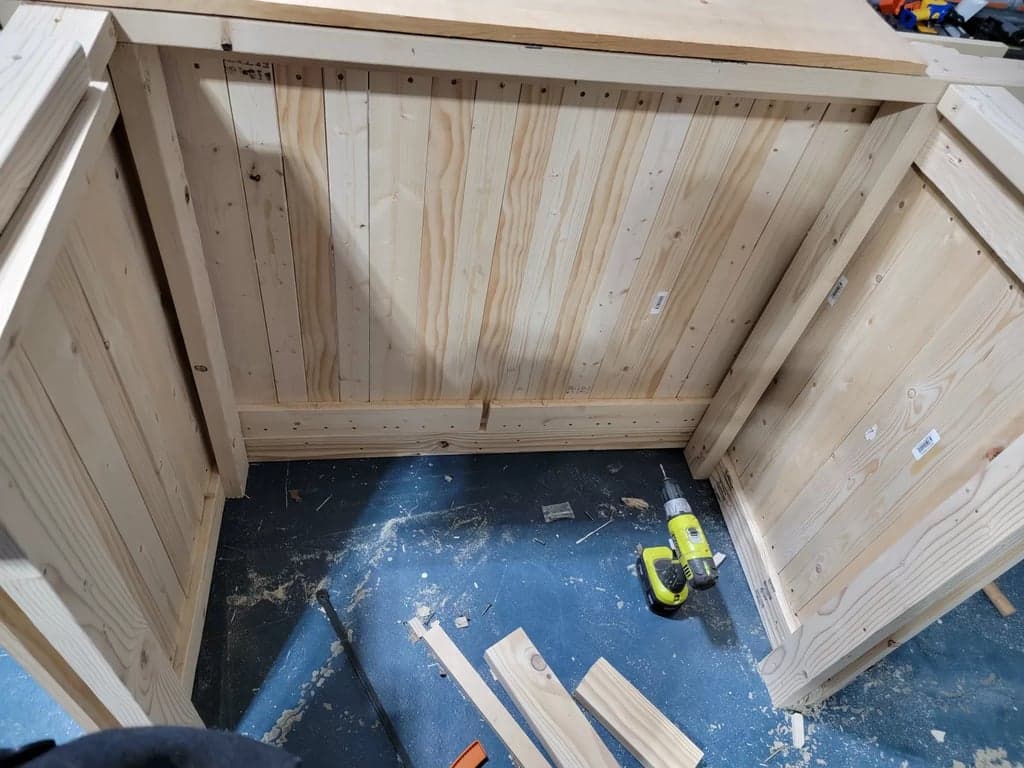
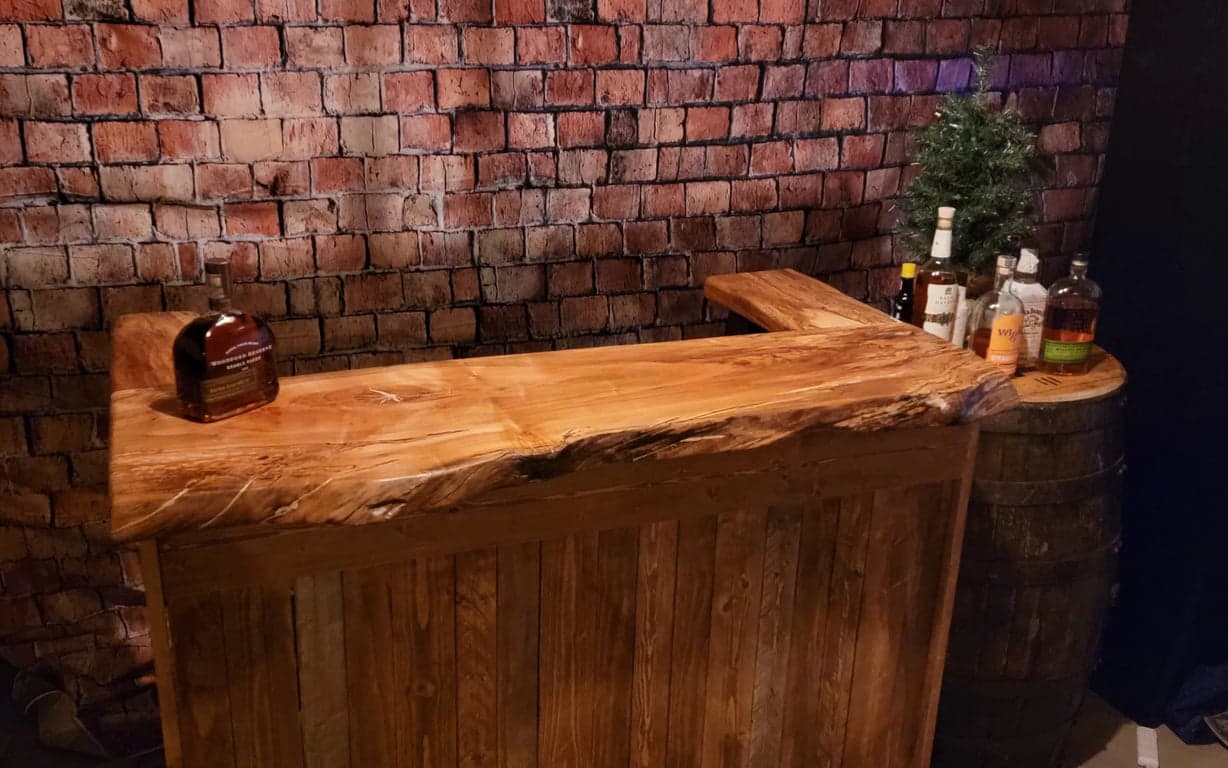
My project used an economical base so the spalted-maple surface could become the statement. That is one project-specific tradeoff—not a promise that every reclaimed or DIY build will be cheaper.
A stable base, safe utilities, moisture-aware materials, and service access are not the glamorous part of the project, but they keep the finished bar useful.
Put the next portion of the budget into the storage, clearances, lighting, and appliances that support the job you gave the bar.
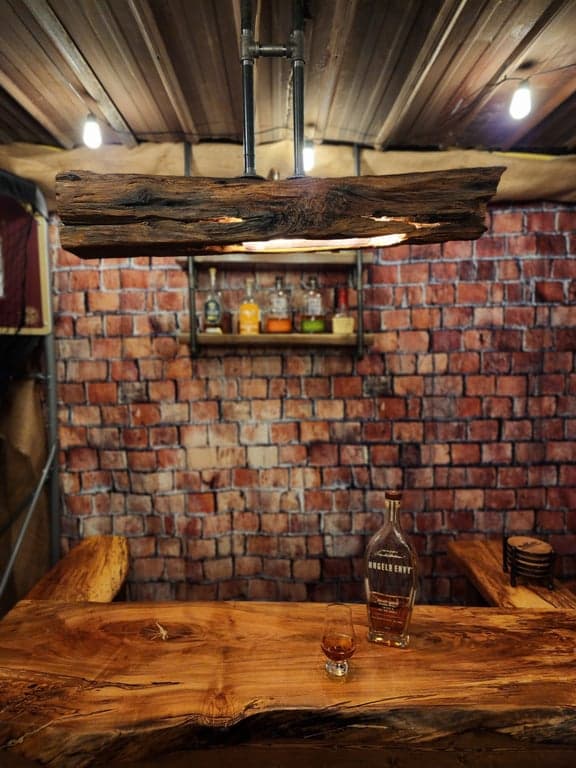
On my bar, the economical base left room for the spalted-maple top. Your focal point might be the surface, shelving, tile, lighting, or a restrained built-in detail.
Source without the fantasy math
Thrift stores, local listings, discount racks, and another woodworker’s offcuts can all be worthwhile. Availability and condition change constantly, so evaluate the real material in front of you instead of planning around a dramatic discount.
Is the material straight, dry enough for the application, and free from damage I cannot work around?
Can I transport and store it without creating a new problem?
What preparation, repair, milling, or finishing does it still need?
Does the labor still make sense after the low purchase price?
Can I buy enough matching material to finish the visible area?
The plan is ready
Once purpose, footprint, utilities, storage, and the focal material are settled, construction becomes a much clearer problem. The dedicated spalted-maple guide carries the photographed base, slab, finish, and assembly details from this project.
Open the full bar build