
A firsthand DIY wall project
DIY Picture Frame Molding: Transform Your Walls
Add elegant dimension and character to a room with a classic architectural detail—and a layout you can build one careful line at a time.
- Difficulty
- Intermediate Precision cutting and careful measurements
- Working time
- 1–2 days Planning, installation, and finishing
- Project estimate
- $100–$300 Depends on wall size and molding choice
The short version
Plan the wall before you start the saw.
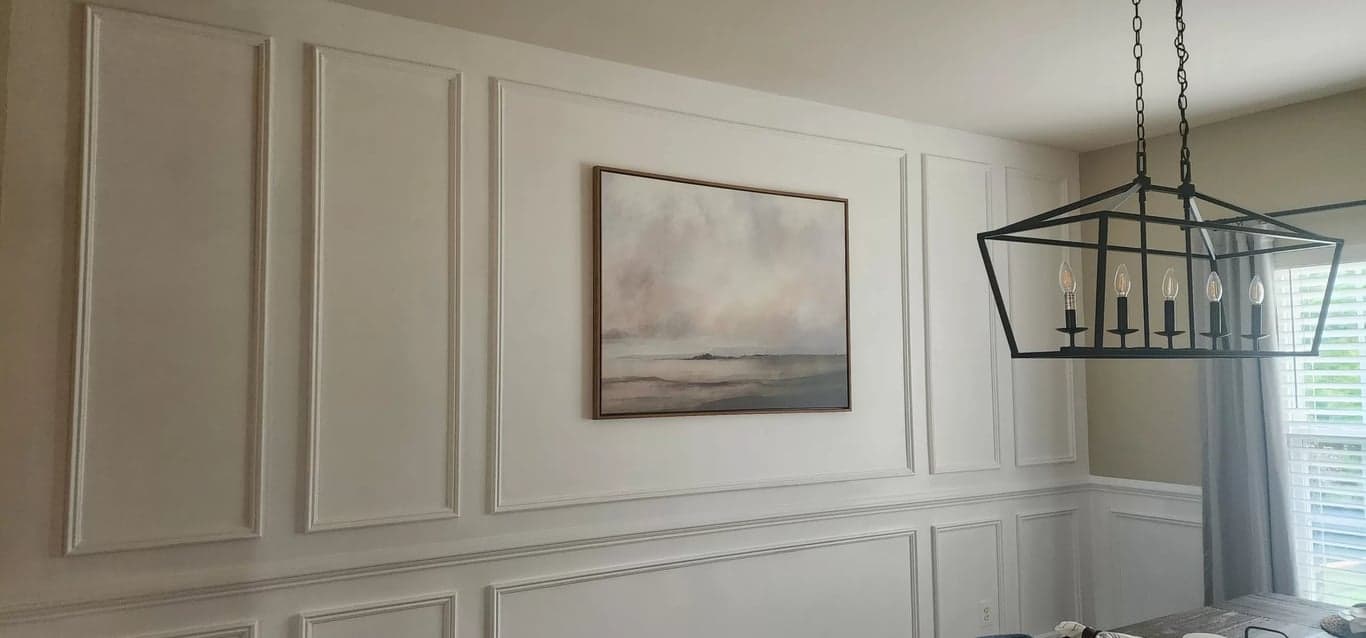
Picture frame molding is an affordable way to give a dining room, office, or other plain wall architectural character. This guide follows the same sequence we used: plan the design, mark level lines, make measured 45-degree cuts, fasten the molding, fill and caulk the gaps, then prime and paint the finished wall.
My wife dreamed it up, drew it up, and then we created what you see here.
Before the work
Tools and materials
Gather the cutting, layout, fastening, and finishing essentials before the first piece goes on the wall.

Tools
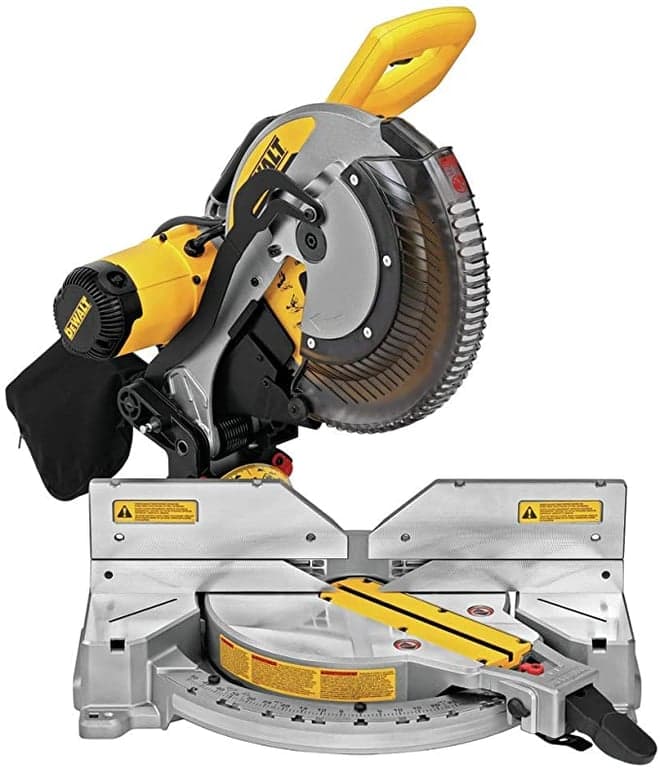
- Double Bevel Compound Miter SawFor making precise 45-degree cuts
- Cross-line Laser LevelTo keep the molding marks level and plumb
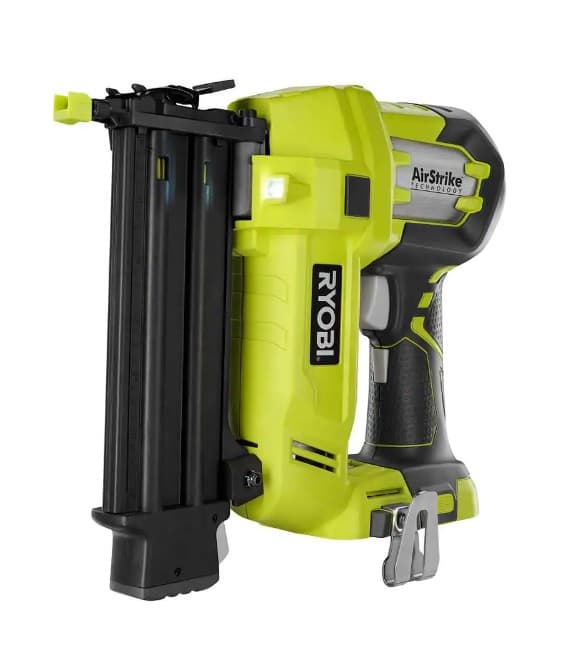
- Nail GunFor attaching molding to the wall
- Tape MeasureFor accurate measurements
- Caulk GunFor filling gaps between molding and wall
Materials
- Narrow MoldingThe trim pieces that form each wall frame
- CaulkFor filling gaps and creating a smooth finish
- Wood FillerFor filling nail holes
- Paint & PrimerFor finishing the molding
- Painter’s TapeFor mocking up the layout or holding pieces temporarily
The build path
Six steps from layout to paint
The wall comes together in a simple order: establish the geometry, protect the corner fit, then make every fastener and seam disappear.
Act 01
Plan the wall
Design first. Cutting comes later.- Easy1–2 hours
Design Your Layout
Before making any cuts or purchasing materials, measure your wall height and width accurately to determine how the molding will be positioned. This planning step will help ensure a balanced and visually appealing final look.
- Use graph paper to create a scale drawing of your wall.
- Consider the room’s architectural features when planning.
- Design frame sizes that complement the scale of the room.
- Use painter’s tape to mock up the design on the wall before cutting any molding.
- About 1 hour
Consider Obstacles & Design Tools
Plan around potential obstacles such as light switches, electrical outlets, and vents. This helps the molding placement look clean and intentional before you commit to a cut.
- Using a design tool like SketchUp can be helpful for visualization.
- A simple hand-drawn plan works too—my wife opted for this approach.
- Decide whether the frames should incorporate or avoid each obstacle.
Act 02
Set the line and cut
The level and the miters decide how clean the wall will read.- Moderate
Set Up and Mark the Layout
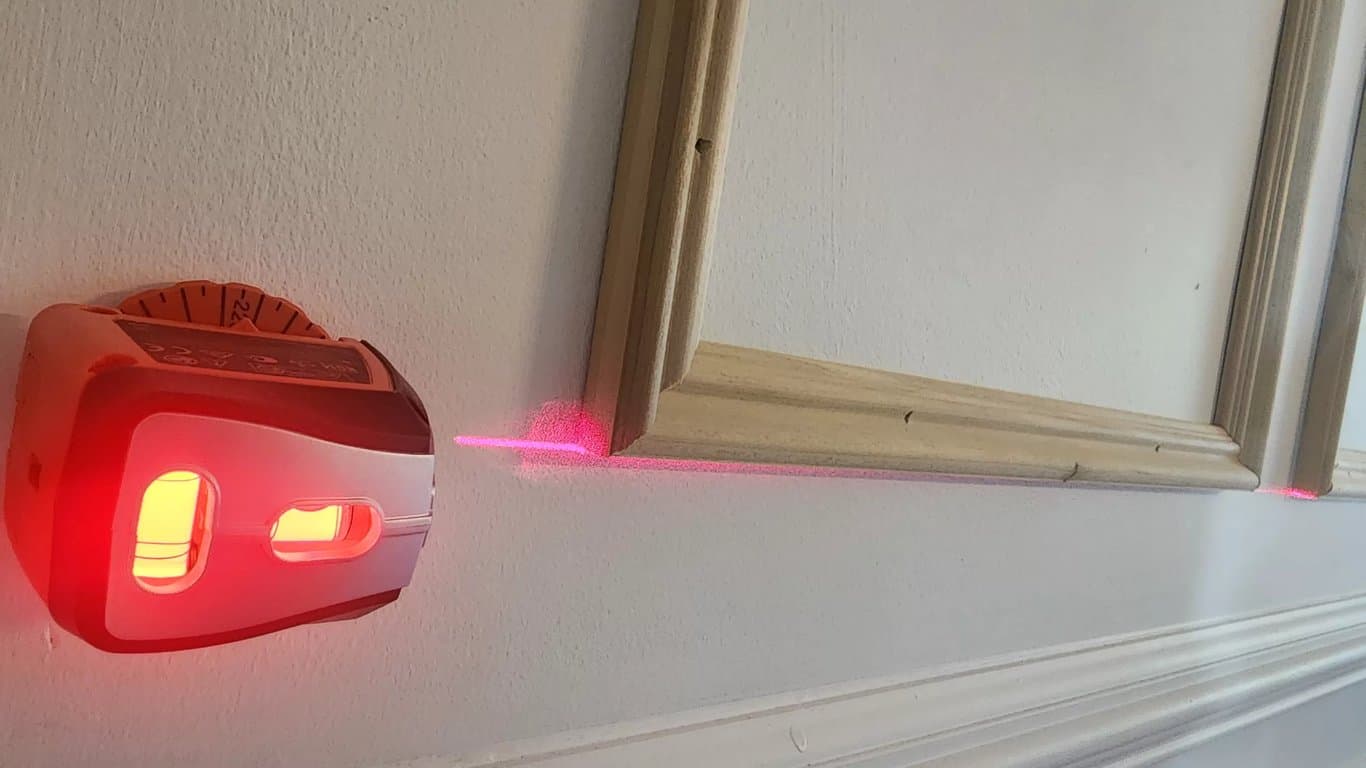
Use a cross-line laser level to establish level and plumb lines for the wall molding. Begin by measuring and marking each corner with a tape measure, using the laser as your guide.
- Determine the height for your picture frame molding first.
- Position the laser level and adjust it to the desired height.
- Project a clear horizontal line across the wall as a guide.
The laser gives the molding one clear horizontal reference. - Challenging2–3 hours
Cut the Molding at 45-Degree Angles
After marking the corners, cut each one at a 45-degree angle using a miter saw. Precision matters here because it directly affects how seamlessly the picture frame molding comes together.
- Make test cuts on scrap pieces first.
- A minor miscalculation can lead to misaligned frames.
- Cut slightly long and trim if needed for a better fit.
Act 03
Attach and finish
Fasten the geometry, then make the seams disappear.- Moderate2–4 hours
Attach the Molding to the Wall
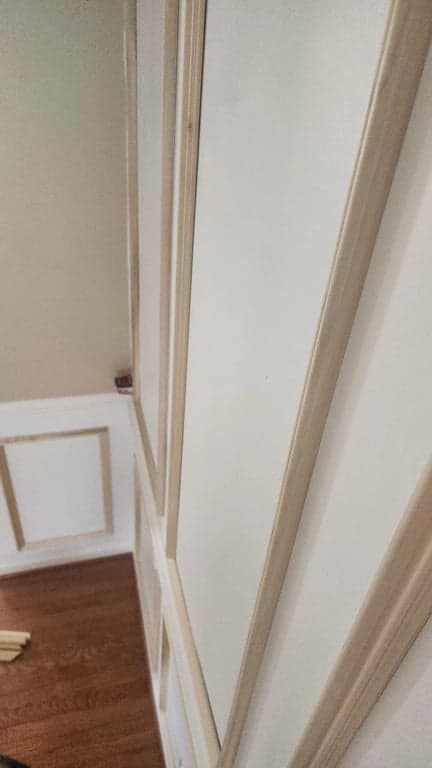
Prepare the wall area and molding pieces. Hold the molding against the wall, align it with your marks, and use a nail gun to attach it. Start with the ends, then add nails along the length, spaced about 16 inches apart.
- Have a helper hold the molding in place while you nail.
- Use 18-gauge finish nails for best results.
- Check for level periodically as you work.
The molding attached and ready for filler, caulk, primer, and paint. - Easy3–5 hours, including drying time
Paint and Finish the Molding
Fill nail holes with wood filler and caulk any gaps, allowing them to dry completely. Lightly sand the molding for a smooth surface, then apply primer—especially if you are working with bare wood—and finish with paint.
- Use paintable caulk for a seamless look.
- Apply multiple thin coats of paint rather than one thick coat.
- After the final coat dries, inspect for missed spots and touch up as necessary.
The payoff
The finished wall
Once the filler and caulk are smooth and the paint is dry, the individual pieces read as one architectural wall treatment. The full-height view shows how the upper and lower frames settle into the room together.
Read the common questions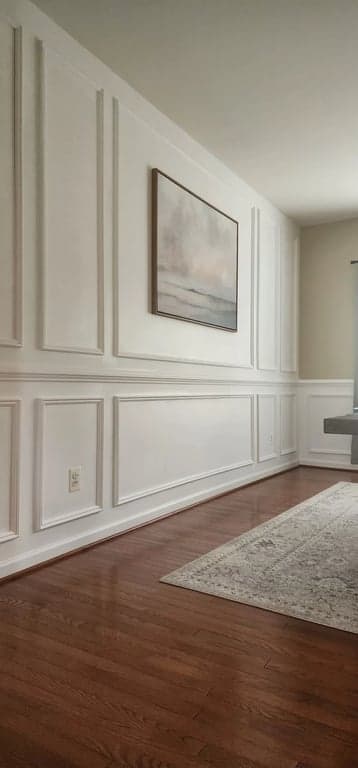
Common questions
Picture frame molding FAQ
The planning and cutting are where most of the questions show up. These are the practical decisions to settle before installation day.
01What is picture frame molding?
Picture frame molding is a decorative wall treatment made from narrow molding arranged in squares or rectangles, like empty picture frames. It can add architectural detail, suggest a wainscoting effect, or give a plain wall more character.
02Do I need a laser level to install picture frame molding?
A cross-line laser level is helpful, but it is not mandatory. It makes it much easier to keep the molding straight and level while you mark the wall. A long level and careful measurements can work too.
03How should I plan around outlets and switches?
Map every outlet, switch, and vent before you settle on the frame sizes. Use painter’s tape to test the layout on the wall, then adjust the spacing so each obstacle looks intentionally incorporated or clearly avoided.
04Is picture frame molding a beginner project?
A careful beginner can take it on, but the repeated measurements, level layout, and 45-degree cuts are why I rate this project Intermediate. Make a full layout first, practice the miter cuts on scrap, and take your time.